


业余玩家经验总结,成果分享,以帮助有需要的人。如有出错,欢迎指正,勿喷!
搭建HomeNAS的大体思路,以下功能基本满足本人需求,大家以此为思路,举一反三,搭建出满足自己需求的功能。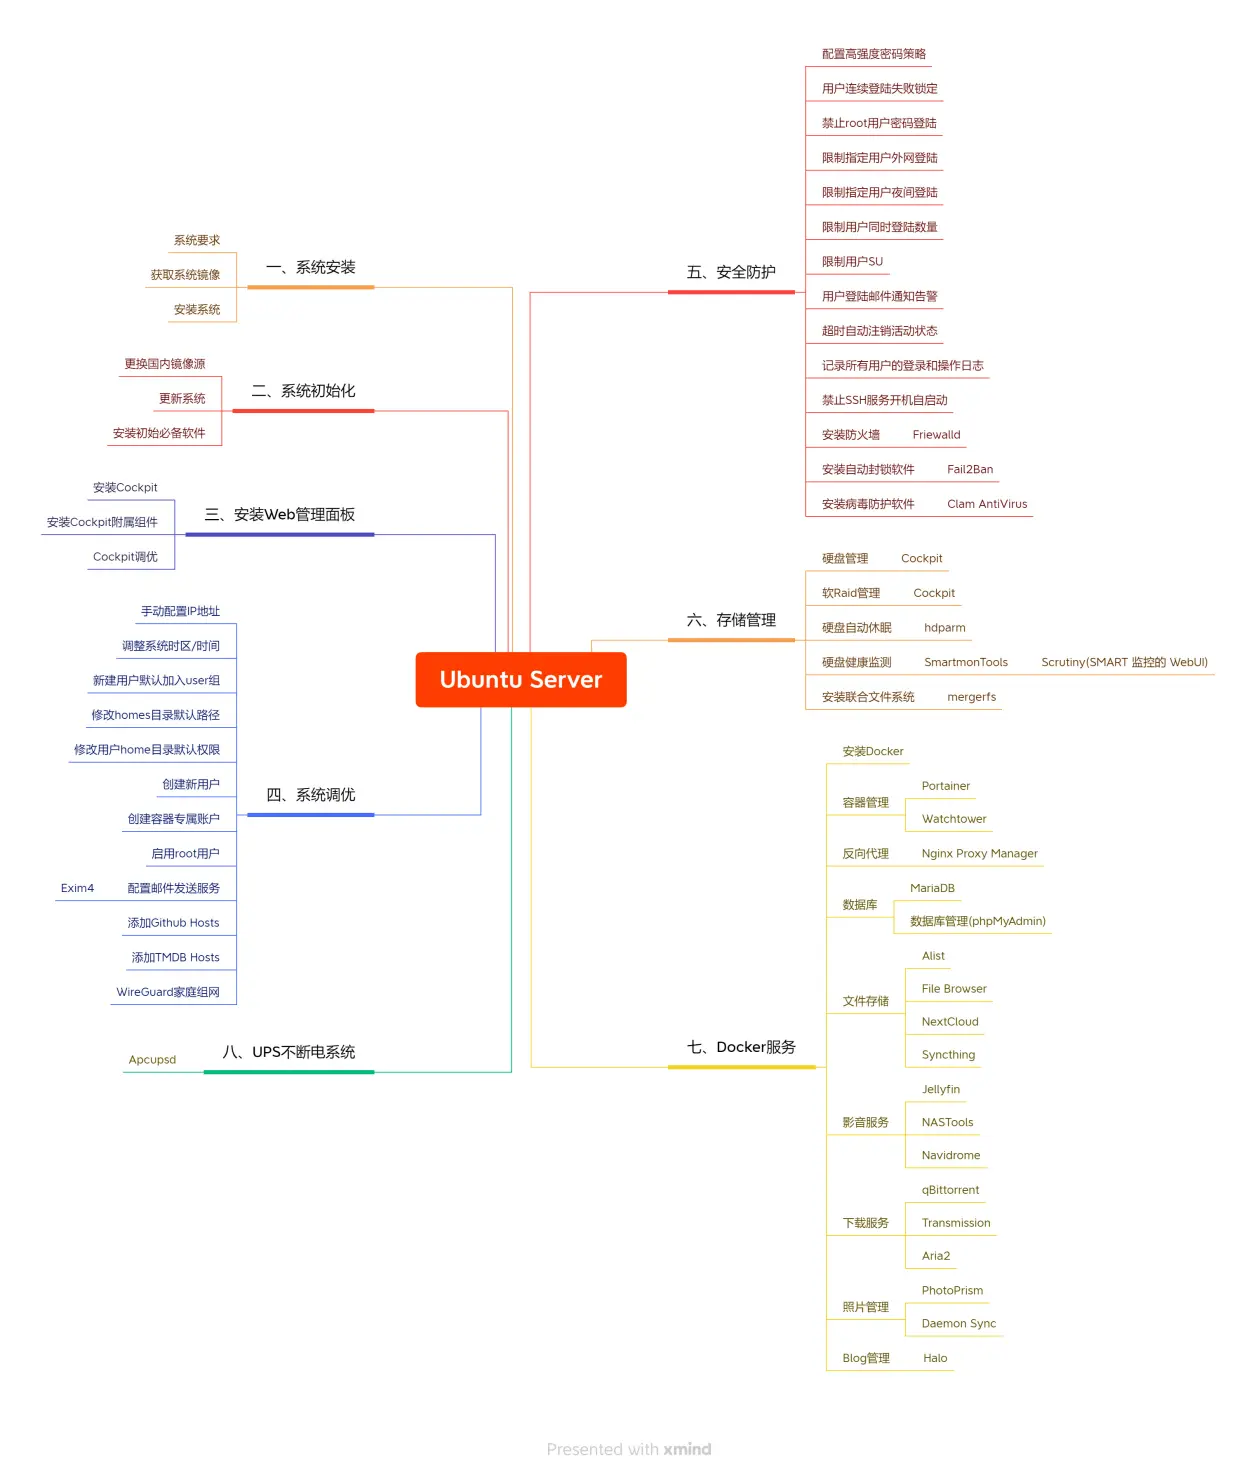
基于Ubuntu搭建HomeNAS(一、系统安装)
1.1系统要求
推荐的系统要求是:
CPU:1 GHz 或更高
内存:1 GB 或更多
磁盘:至少 2.5 GB
服务器和桌面差异
Ubuntu Server Edition和Ubuntu Desktop Edition使用相同的 apt 存储库,使得在 Desktop Edition 上安装服务器应用程序与在Server Edition 上一样容易。
一个主要区别是用于桌面版的图形环境没有为服务器安装。这包括图形服务器本身、图形实用程序和应用程序,以及桌面用户所需的各种用户支持服务。
1.2获取安装程序
您可以从https://ubuntu.com/download/server下载适用于 amd64 的服务器安装程序。
1.3安装 Ubuntu 服务器
安装教程参考:
https://ubuntu.com/tutorials/install-ubuntu-server#1-overview
https://ubuntu.com/server/docs/install/step-by-step
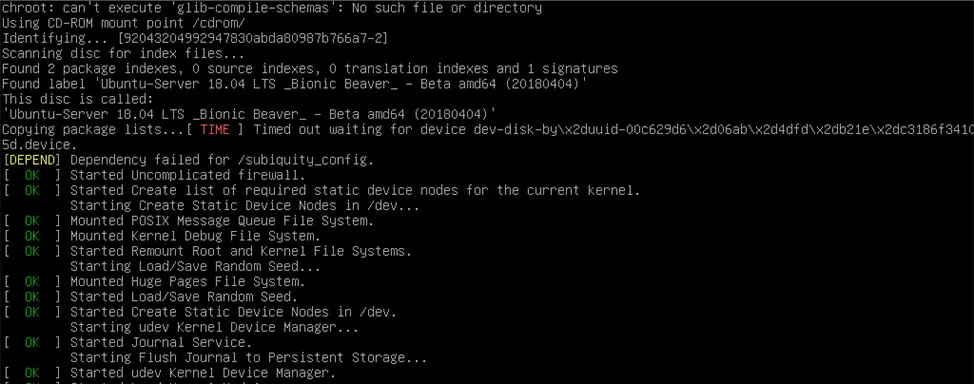
从安装介质启动,片刻之后,您应该会在屏幕上看到如下所示的消息……
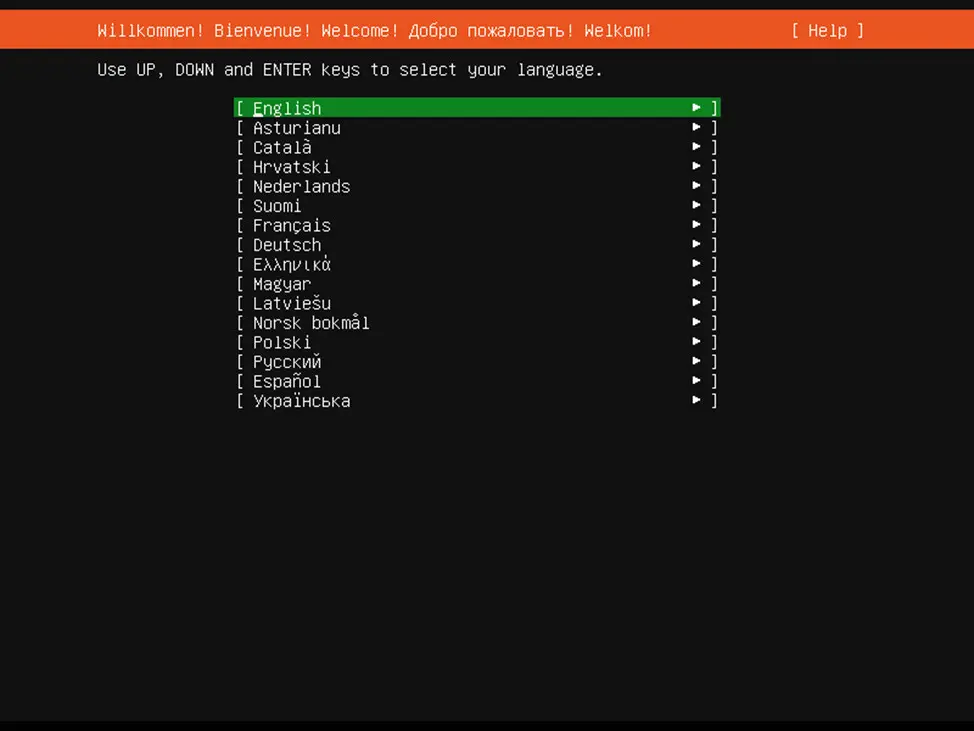
 语言选择(选择英文)
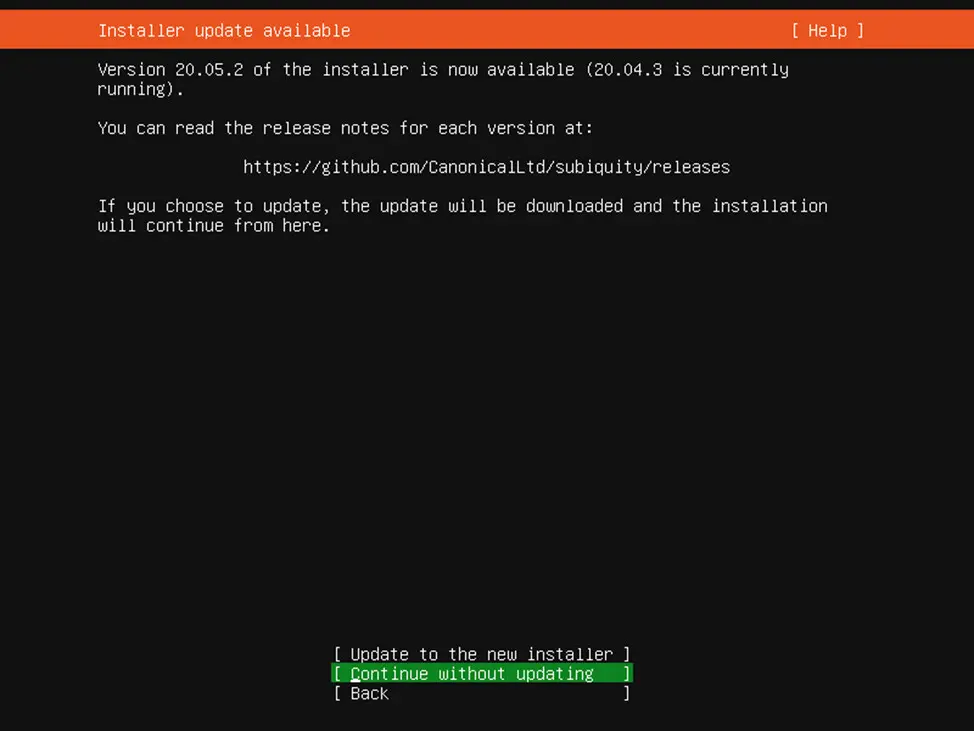
可用安装程序更新(跳过更新,选Continue without updating)
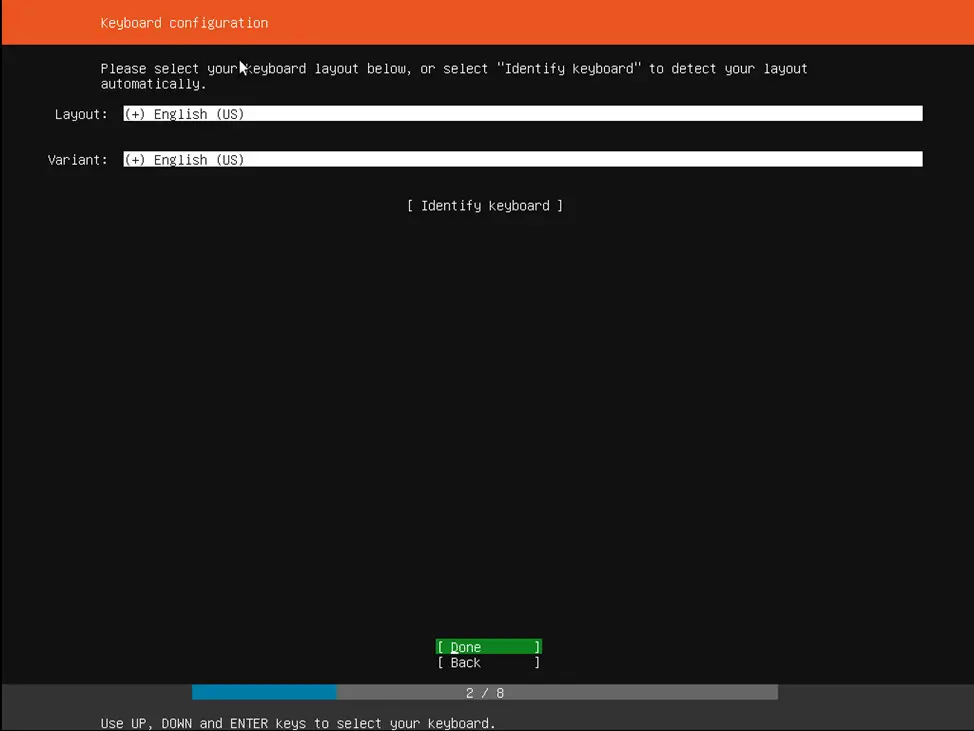
选择正确的键盘布局(保持默认,即美国英文)
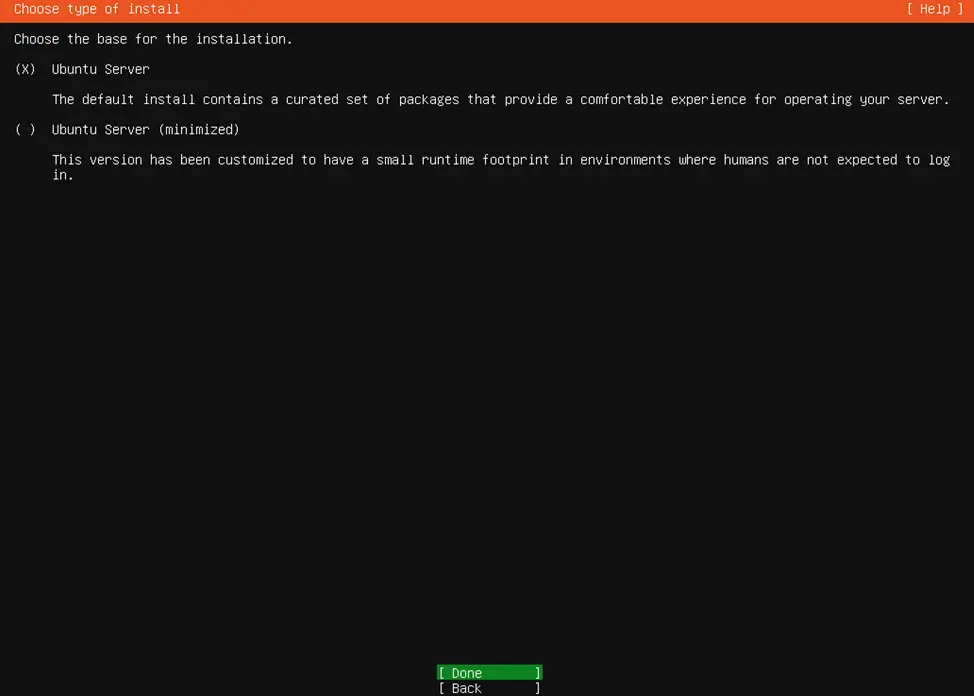
选择安装基础(保持默认安装ubuntu server)
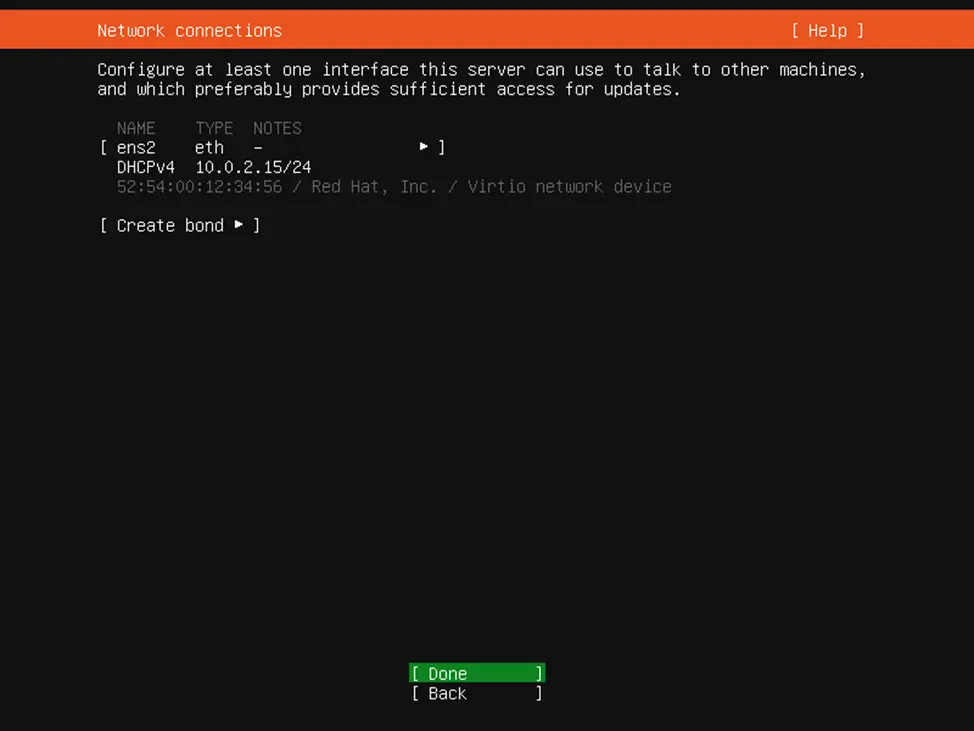
网络配置(默认自动配置)
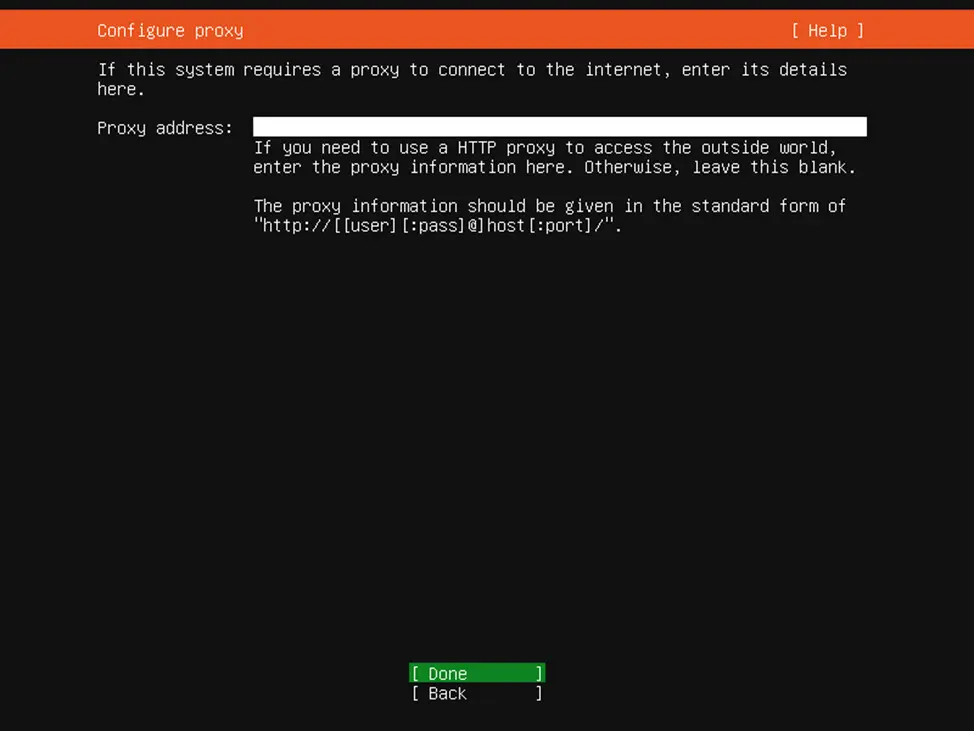
代理配置(如无代理,保留为空)
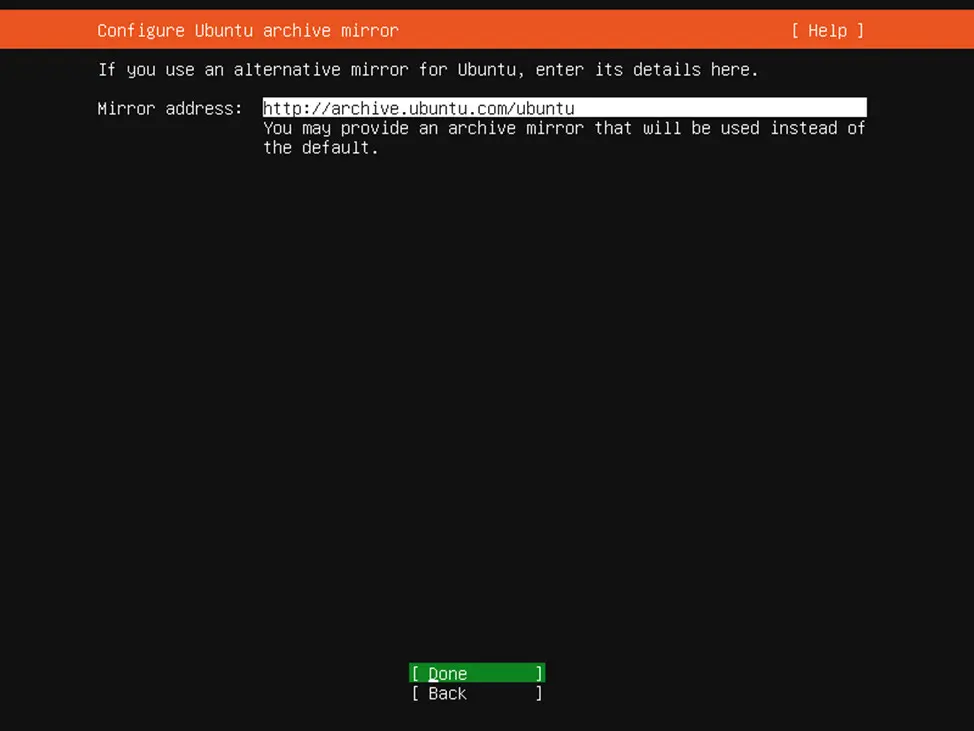
镜像源配置(保持默认地址国内速度也不错,如需更换,自行添加)
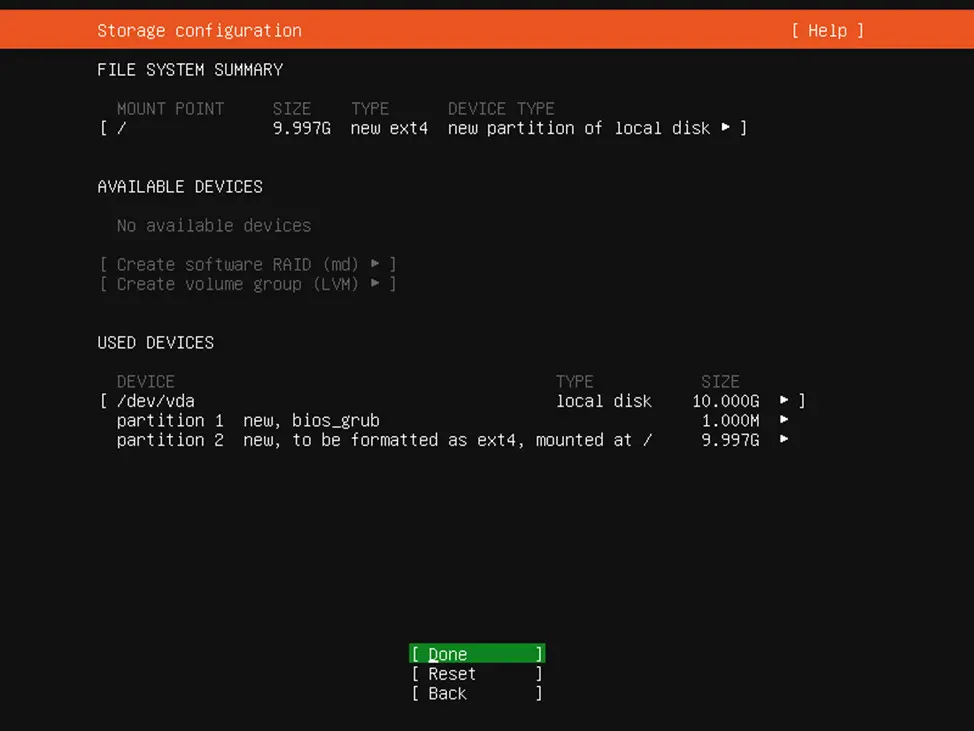
磁盘配置(一般保持默认即可)
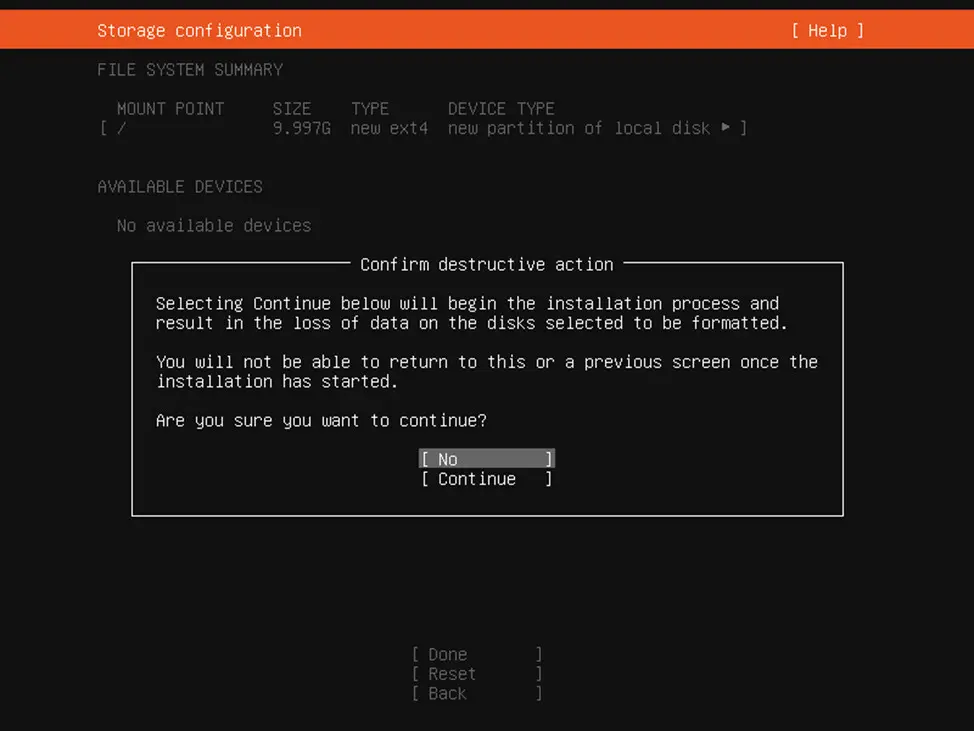
确认磁盘配置(选择Continue确认)
设置个人资料

安装SSH(必须安装此项)
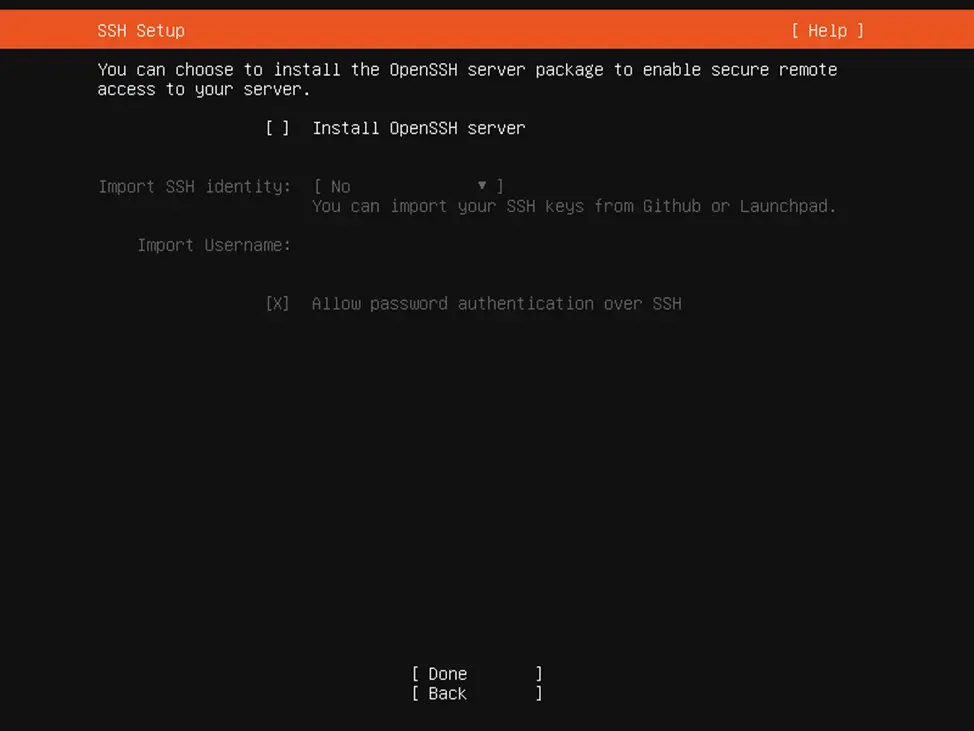
下方ssh前面 * 然后确定
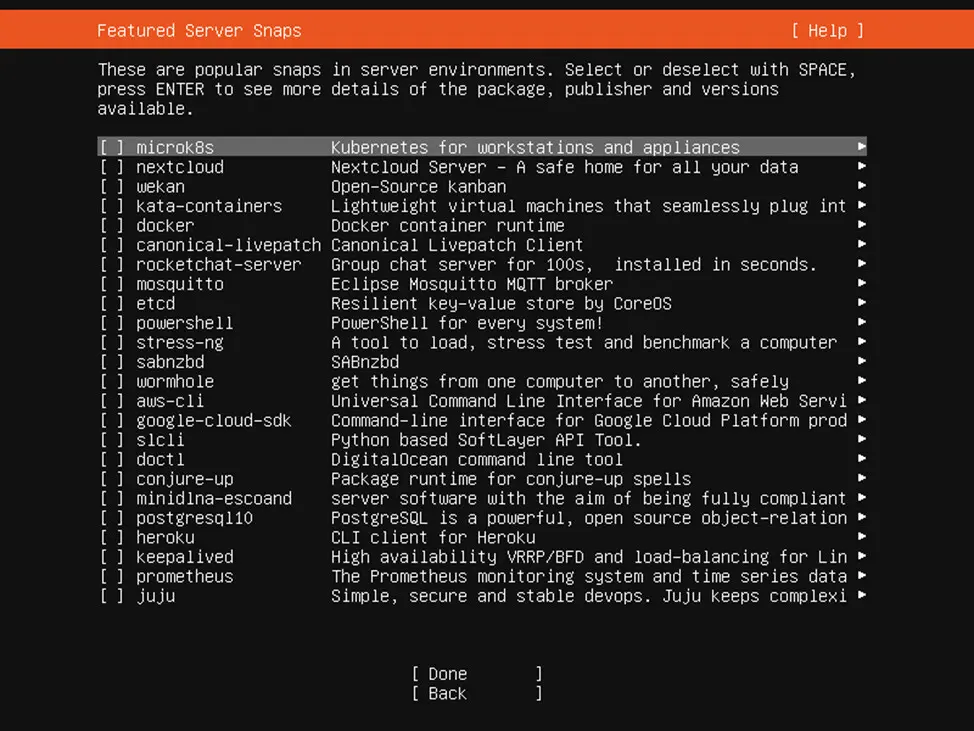
安装附加软件(跳过,全部不安装)
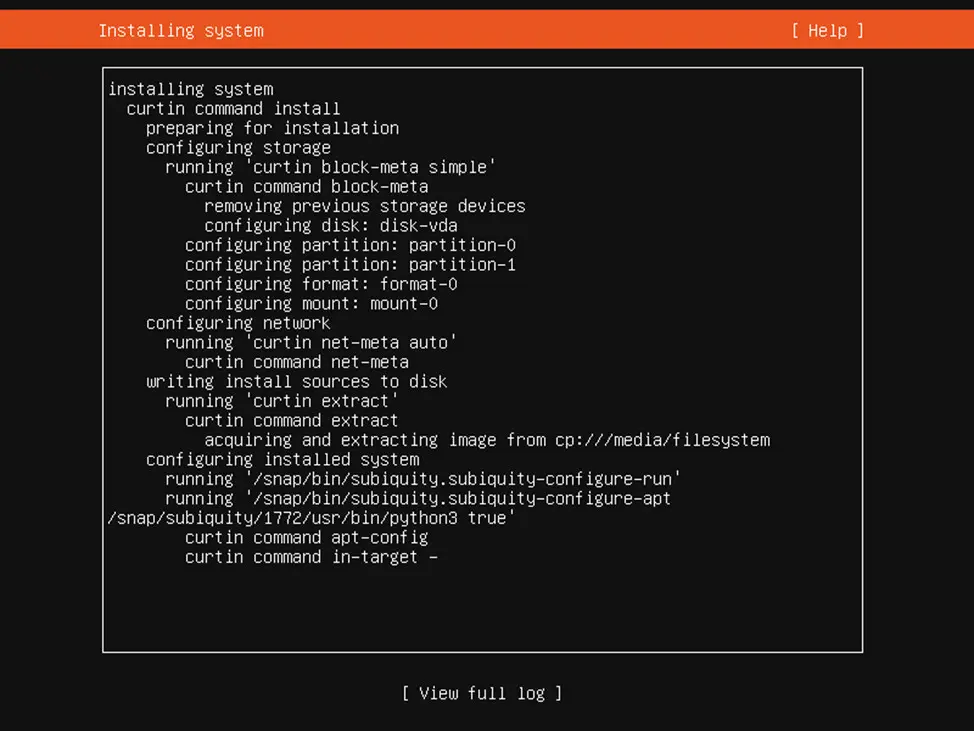
安装日志(系统正在安装,静候)
安装完成(选择Reboot重启系统)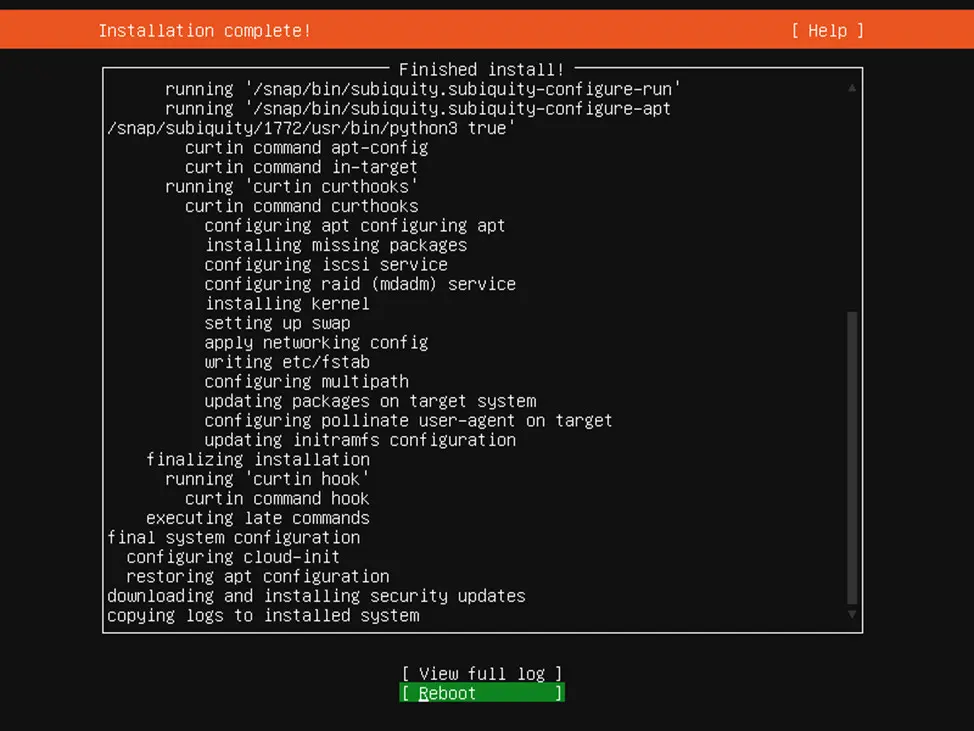
基于Ubuntu搭建HomeNAS(二、系统初始化)
2.1 更换国内镜像源
Ubuntu 的软件源配置文件是 /etc/apt/sources.list。将系统自带的该文件做个备份,将该文件替换为下面内容,即可使用 TUNA 的软件源镜像。
备份/etc/apt/sources.list,命令:
sudo apt update && sudo apt upgrade -y2.3 安装初始必备软件
输入下面命令安装基础必备软件,命令:
sudo apt install curl git vim net-tools -y基于Ubuntu搭建HomeNAS(三、安装Web管理面板)
3.1 安装Cockpit
. /etc/os-release
sudo apt install -t ${VERSION_CODENAME}-backports cockpit -y
注意:解决cockpit 报错Cannot refresh cache whilst offline
是网络渲染器(render)有问题,需修改/etc/netplan/00-installer-config.yaml文件,输入命令:
sudo vim /etc/netplan/00-installer-config.yaml在network组最后添加 renderer: NetworkManager 如:
# This is the network config written by 'subiquity'
network:
  ethernets:
    enp3s0:
      dhcp4: true
  version: 2
  renderer: NetworkManager
然后应用:
sudo netplan apply3.2 安装Cockpit附属组件
官方组件
1、虚拟机,在浏览器中创建、运行和管理虚拟机。
sudo apt install cockpit-machines -y2、Podman 容器,在浏览器中下载、使用和管理容器。(Podman 取代了 Docker。)
sudo apt install cockpit-podman -y第三方组件
配置45Drives Repo安装脚本,安装脚本将自动检测您的发行版并将适当的文件添加到您的系统。该脚本还将保存任何与 45Drives 相关的旧存储库(如果存在)。
下面的命令将下载并运行脚本,而不会在您的系统上留下任何东西!
curl -sSL https://repo.45drives.com/setup | sudo bash
sudo apt update
1、Navigator文件浏览器,Cockpit 的特色文件浏览器。
安装软件包:
sudo apt install cockpit-navigator -y2、File Sharing,一个 Cockpit 插件,可轻松管理 Samba 和 NFS 文件共享。
安装软件包:
sudo apt install cockpit-file-sharing -y3、Cockpit Identities,用户和组管理插件
安装软件包:
sudo apt install cockpit-identities -y4、Cockpit ZFS管理器
要求: 不是命令
Cockpit: 201+;NFS (Optional);Samba: 4+ (Optional);ZFS: 0.8+;
安装:
git clone https://github.com/optimans/cockpit-zfs-manager.git
sudo cp -r cockpit-zfs-manager/zfs /usr/share/cockpit
3.3 Cockpit调优
自动注销闲置的用户
在您首选的文本编辑器中,在 /etc/cockpit/ 目录中打开或创建 cockpit.conf 文件,命令:
sudo vim /etc/cockpit/cockpit.conf在文件中添加以下文本,以分钟为单位,这里表示为15分钟后自动退出:
[Session]
IdleTimeout=15
保存文件,重启Cockpit Web 控制台以使更改生效,命令:
sudo vim /etc/cockpit/issue.cockpit在文件中添加需要展示的内容:
基于Ubuntu Server搭建HomeNAS!内容添加完成后,保存这个文件。
在您首选的文本编辑器中,在 /etc/cockpit/ 目录中打开或创建 cockpit.conf 文件。
sudo vim /etc/cockpit/cockpit.conf在文件中添加以下文本:
[Session]
Banner=/etc/cockpit/issue.cockpit
保存该文件,重启Cockpit Web 控制台以使更改生效,命令:
sudo systemctl try-restart cockpitNginx反向代理Cockpit
在您首选的文本编辑器中,在 /etc/cockpit/ 目录中打开或创建 cockpit.conf 文件,命令:
sudo vim /etc/cockpit/cockpit.conf在文件中添加以下文本,将下面内容中的两处’cockpit.domain.tld’替换为你的域名(如为非标端口号,需将端口号一并填写上):
[WebService]
Origins = https://cockpit.domain.tld wss://cockpit.domain.tld
ProtocolHeader = X-Forwarded-Proto
端口为外网映射端口
保存文件,重启Cockpit Web 控制台以使更改生效,命令:
sudo systemctl try-restart cockpit如不做nas 到此可以结束
基于Ubuntu搭建HomeNAS(四、系统调优)
4.1手动配置IP地址
Cockpit-网络-接口-ens33(你网络接口名称)-IPV4-编辑-手动,输入要设置的IP地址及默认网关。
4.2 调整系统时区/时间
Cockpit-概览-系统时间-点击时间进行校准,时区选择Asia/Shanghai,设置时间选择自动使用NTP,然后点击变更,系统会自动联网进行校准。
4.3 新建用户默认加入user组
编辑/etc/adduser.conf文件,
找到 USERGROUPS 修改变量为 'no'(USERGROUPS=no), 这样当创建用户时就不会伴随产生一个新组了.设置 USERS_GID 为所有用户都属于的组的GID,建议设置为USERS_GID=100,即user组。
这样修改好之后,新建用户将不再生成同名用户组,且用户默认加入user组。
4.4 修改homes目录默认路径
编辑/etc/adduser.conf文件,
找到DHOME=/home参数,修改变量为自定义路径即可,例如:
DHOME=/mnt/volume_1/data/home4.5 修改用户home目录默认权限
编辑/etc/adduser.conf文件,
找到DIR_MODE=0755参数,修改变量为'0700'(DIR_MODE=0700),0700表示只有该用户拥有文件所有权,其他用户无权访问。
4.6 创建新用户
对于需要创建新的用户,推荐通过adduser命令去增加,只有通过这个命令去增加的用户,前面4.3~4.5之间的修改项方能生效。
创建新用户命令,命令中的”test”为用户名,自行替换为自己需要创建的用户名:
sudo adduser test系统将输出如下内容:
ubtest@ubuntutest:~$ sudo adduser test
Adding user `test' ...
Adding new user `test' (1002) with group `users' ...
Creating home directory `/mnt/volume_1/data/home/test' ...
Copying files from `/etc/skel' ...
New password: 					//新用户密码
Retype new password: 				//再次确认新用户密码
passwd: password updated successfully
Changing the user information for test
Enter the new value, or press ENTER for the default
        Full Name []: test			//新用户全名,建议填写
        Room Number []: 				//房间号码
        Work Phone []: 				//工作电话
        Home Phone []: 			//家庭电话
        Other []: 			//其他
Is the information correct? [Y/n] y	//这些信息是否正确?
创建用户过程中,需要填写新创建用户的密码,建议全名项输入与用户名相同的值,其余项可以留空,或者按需填写。
adduser高级语法可以参考此链接:https://www.runoob.com/linux/linux-comm-adduser.html
4.7 创建容器专属账户
考虑到将要搭建的容器服务众多,甚至一部分服务还可能对 Internet 开放,为了安全,建议创建一个专用的低权限用户来运行各项容器。
sudo adduser application使用命令行新建名为 application 的用户(名称可以自定义):
id application终端输出内容:
uid=1001(application) gid=1001(application) 组=1001(application)这里可以看到都是:1001(application),记住这个值,作为后续容器参数使用。
4.8 启用root用户
1、开启root账户
sudo passwd -u root2、为root账户设置密码
sudo passwd root终端输出内容:
New password:                                      //设置root密码
Retype new password:                              //再次确认root密码
passwd: password updated successfully           //root密码更新成功
3、测试root账户
su -4、输入刚才设置的密码
Password: 输入密码5、成功
root@ubuntu:~#4.9 配置邮件发送服务
安装Exim4,命令:
sudo apt install exim4 -y配置Exim4服务,命令:
sudo dpkg-reconfigure exim4-config终端输出配置内容:
Please select the mail server configuration type that best meets your needs.

Systems with dynamic IP addresses, including dialup systems, should generally be
configured to send outgoing mail to another machine, called a 'smarthost' for
delivery because many receiving systems on the Internet block incoming mail from
dynamic IP addresses as spam protection.

A system with a dynamic IP address can receive its own mail, or local delivery
can be disabled entirely (except mail for root and postmaster).

  1. internet site; mail is sent and received directly using SMTP
  2. mail sent by smarthost; received via SMTP or fetchmail
  3. mail sent by smarthost; no local mail
  4. local delivery only; not on a network
  5. no configuration at this time
General type of mail configuration:
接下来进行逐步配置:
1、邮件系统设置的常见类型:选择第三项,用smarthost 发信;无本地信件。
General type of mail configuration: 3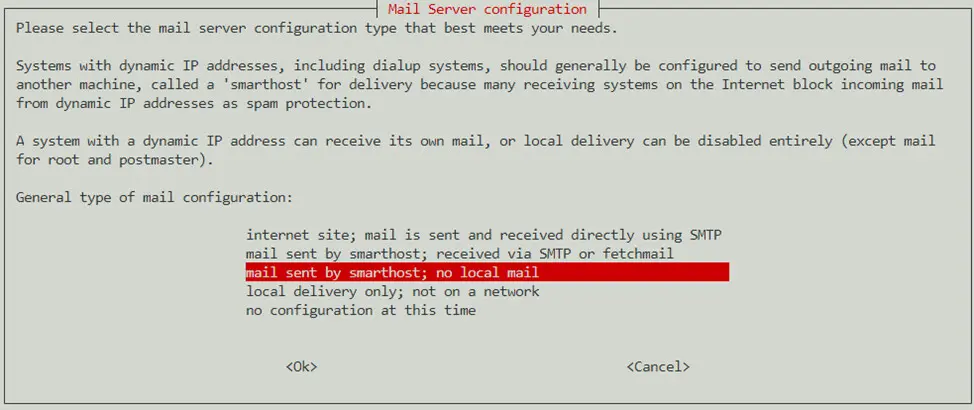 2、系统邮件名称:填写发邮件的邮件域名,如你的发件邮件地址是mymail@qq.com,则这里填写qq.com。
System mail name:qq.com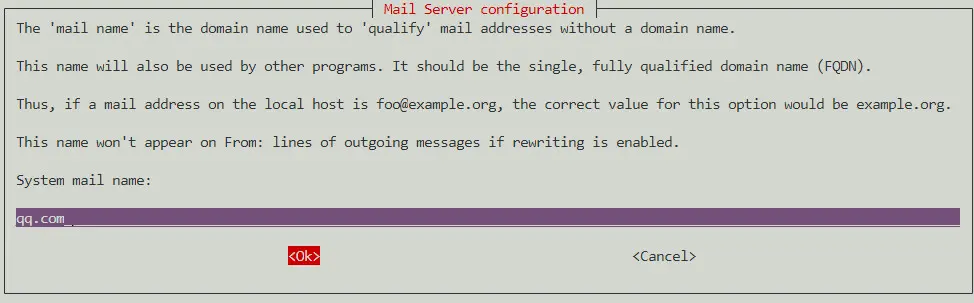 3、要监听入站 SMTP 连接的 IP 地址:填127.0.0.1 ; ::1,这里表示只监听本地IPV4/IPV6端口,也就是只有本机能发信,外部不能访问。
IP-addresses to listen on for incoming SMTP connections: 127.0.0.1 ; ::1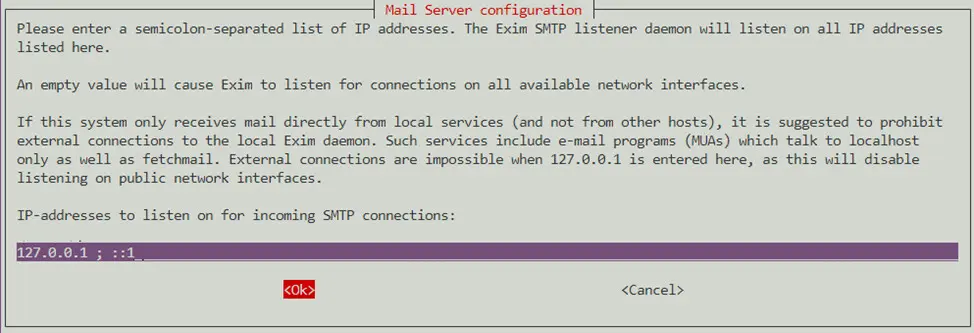 4、其它可接收邮件的目的地址:留空
Other destinations for which mail is accepted: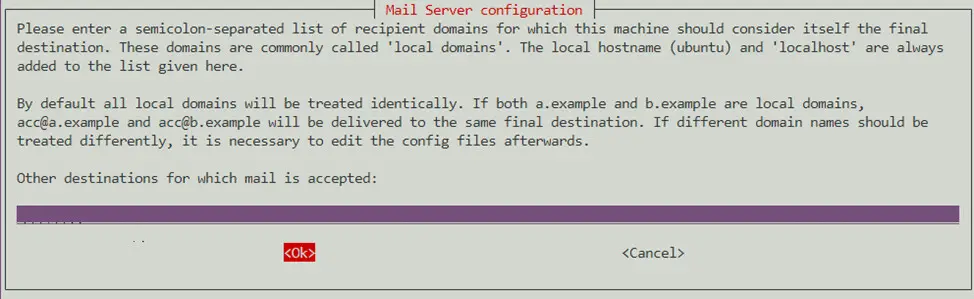
5、本地用户的可见域名:这里和第2步一样,填写你的发件邮箱域名,如qq.com。
Visible domain name for local users: qq.com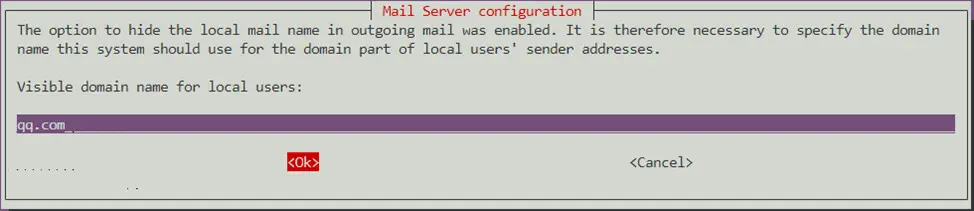
6、发邮件使用的smarthost 的IP 地址或主机名:填写外部SMTP地址。由于qq.com使用的邮件系统是qq,所以这里填写qq的smtp地址smtp.qq.com:587。
IP address or host name of the outgoing smarthost: smtp.qq.com:587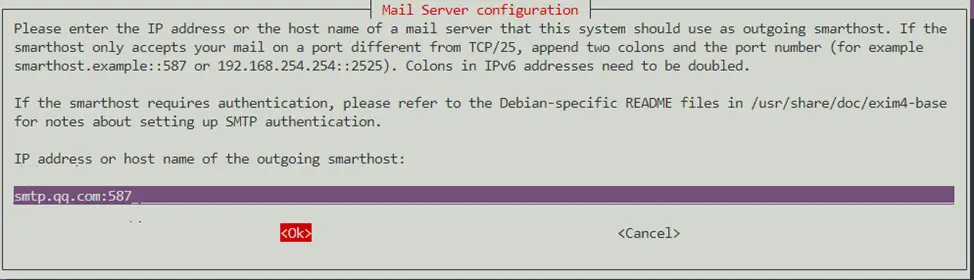
7、保持最小 DNS 查询量吗 (按需拔号,Dial-on-Demand)?否
Keep number of DNS-queries minimal (Dial-on-Demand)? [yes/no] n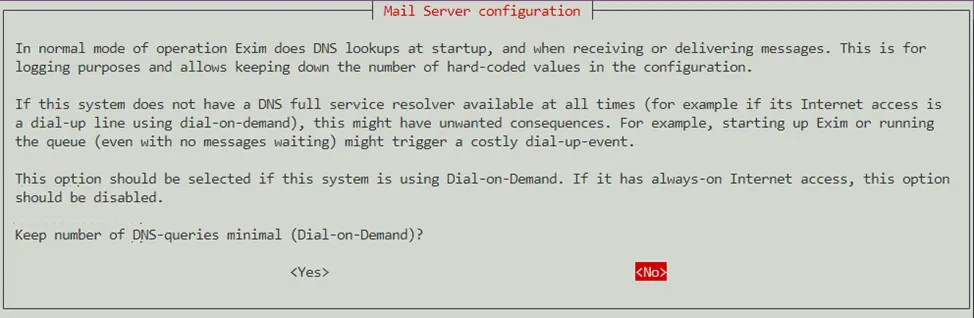
8、将设置文件分拆成小文件吗?否(不搭建复杂的邮件服务器,保持默认就可以,不需要拆分)
Split configuration into small files? [yes/no] n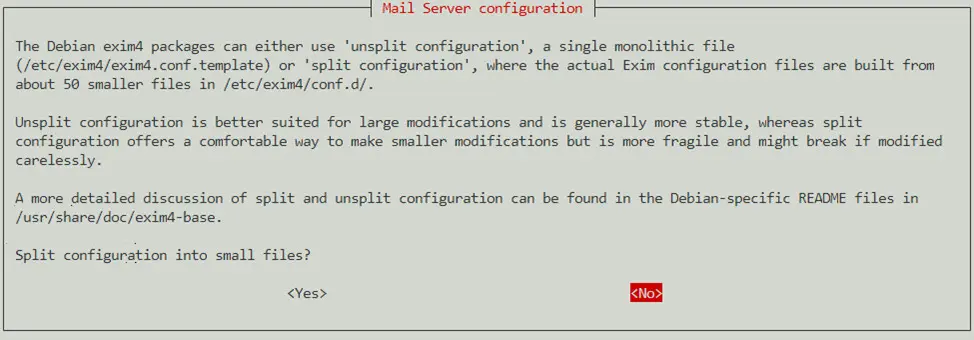
9、Root 和 postmaster 邮件的接收者: 空
Root and postmaster mail recipient: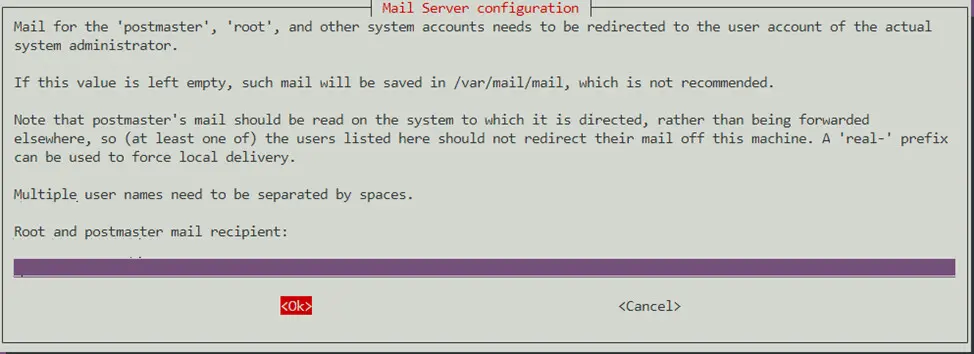
到这里就完成了,但还不能发邮件。输入命令:
sudo vim /etc/exim4/passwd.client在末尾加入(注意修改用户名和密码,密码为邮箱授权码,非登录密码):
qq-smtp.l.qq.com:yourAccountName@qq.com:y0uRpaSsw0RD
*.qq.com:yourAccountName@qq.com:y0uRpaSsw0RD
smtp.qq.com:yourAccountName@qq.com:y0uRpaSsw0RD
格式为:发件邮箱SMTP服务器:发件邮箱账号:发件邮箱密码,因为上面我们已经设置smtp服务器地址,所以这里可以填写通配符,当然也可以填smtp地址。
输入命令:
sudo vim /etc/email-addresses在末尾加入:
root: mymail@qq.com格式是:系统用户名: 发件邮箱地址。
防火墙记得开放587端口,然后重启exim4,输入命令:
/etc/init.d/exim4 restart发送邮件测试,首先切换到root用户,输入命令:
su –输入发送邮件测试命令(user@example.com改为你要接收邮件的邮箱地址):
sudo echo "test" | mail -s "test" user@example.com如果你的邮箱收到邮件,就说明安装成功了。
4.10 添加Github Hosts
打开系统hosts文件,命令:
sudo vim /etc/hosts粘贴下面内容进去之后保存退出即可。(此Hosts IP具有时效性,请保持定期更新)
# GitHub Host Start
140.82.113.3                 central.github.com
140.82.113.3                 assets-cdn.github.com
151.101.1.6                  github.map.fastly.net
151.101.1.6                  github.global.ssl.fastly.net
140.82.113.3                 gist.github.com
185.199.108.153              github.io
140.82.113.3                 github.com
140.82.113.3                 api.github.com
140.82.113.3                 codeload.github.com
72.21.206.80                 github-cloud.s3.amazonaws.com
72.21.206.80                 github-com.s3.amazonaws.com
72.21.206.80                 github-production-release-asset-2e65be.s3.amazonaws.com
72.21.206.80                 github-production-user-asset-6210df.s3.amazonaws.com
72.21.206.80                 github-production-repository-file-5c1aeb.s3.amazonaws.com
185.199.108.153              githubstatus.com
140.82.113.18                github.community
140.82.113.3                 raw.github.com
# Update at: 2022-11-19 18:13:32
# GitHub Host End
4.11 添加TMDB Hosts
打开系统hosts文件,命令:
sudo vim /etc/hosts粘贴下面内容进去之后保存退出即可。(此Hosts IP具有时效性,请保持定期更新)
# TMDB Hosts Start
18.160.41.49 api.themoviedb.org
18.160.41.62 api.themoviedb.org
18.160.41.96 api.themoviedb.org
18.160.41.102 api.themoviedb.org
18.154.101.4 api.tmdb.org
18.154.101.29 api.tmdb.org
18.154.101.46 api.tmdb.org
18.154.101.69 api.tmdb.org
# Update at 20221229
# TMDB Hosts End4.12 WireGuard家庭组网
暂无此需求,往后如需搭建,可参考下列教程。
教程1:
https://www.bilibili.com/video/BV1uT411w7Tq/?spm_id_from=333.999.0.0&vd_source=edf48b61aa8c33c32292521c6dd3b776教程2:
https://gitee.com/spoto/wireguard文章出处:b站 谷玄天
评论区